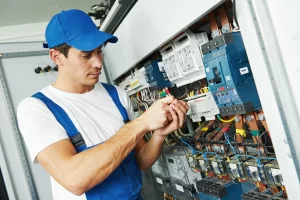
Tips for installing electrical boxes in walls
 Installation of electrical boxes between supporting pillars
Electrical boxes are usually mounted on the sides of studs for stability. Whether they are nailed to the studs or screwed on with adjustable brackets, boxes on studs usually stay in place for a long time.
But sometimes it’s not always possible to find a suitable mounting point on the uprights. What about between the uprights?
One way to fix the boxes between the uprights is to use old electrical boxes. Old electrical boxes are attached directly to the drywall, not to the studs.
After cutting a rectangular hole in the drywall, insert the electrical box into the hole. Then turn the two screws clockwise using either a manual Phillips screwdriver or a cordless drill.
Turning the screws will also turn the two plastic wings behind the drywall, pressing the box against the drywall. This isn’t as stable as a stud-mounted box, and sometimes the wings break off, but it’s often the only option when the box needs to be between studs.
Mount wallboxes at a uniform height
There are no exact guidelines for how high wall switches or outlet boxes should be mounted. However, professionals adhere to certain standards to ensure a uniform look. Regardless of which standard you choose, make sure all electrical boxes are the same height. Uneven box heights make the electrical work in a home look like amateur work.
Use a reference strip for drywall
For new construction, a strip of drywall on the front of studs can serve as a guide for installing wall boxes. Without such a guide, it can be difficult to install the boxes with the proper offset to ensure that the front edges of the electrical boxes are flush with the finished drywall surface. When installing an electrical box, make sure it is flush with the surface of the drywall strip; this will ensure that the boxes are the correct depth when the walls are finished.
Use the box’s measuring tab
Plastic boxes for nailing in may have 30 mm measuring tabs on the sides. You can use these to indicate how far the can needs to be from the surface of the studs.
Begin by gently pushing out the box’s nails by hand so that the nail tips will easily pierce the wood when you place the box on the stud. This will help hold the box in place during the first few crucial hammer blows as you drive the fastening nails into the stud.
Call the Emergency Electrician in Bournemouth. If you have any electrical issue, then we are here for you. We send in a short time an electrician to your place. Furthermore, we are 24 hours available.
We collaborate with: Emergency Services 24, Emergency Electrician in Sheffield, Emergency Electrician in Derby, Emergency Electrician in Bolton and Emergency Electrician in Liverpool.
